Looking for yet another way to use Ice Resin Luminous Layers? Well, here you go! Resin Pendants!

This tutorial really is just a fun one. Popping the cured pendant from the mold to see it's final look is always a treat!
You will need the following materials:
Silicon molds
Necklace or Earring bail
Ice Resin
Mixing cup
Mixing stick
Luminous Layer sheet
Scissors or Paper Punch
Necklace (we used our rolo style)
Jump ring
E6000 glue
Here we go!
Step: Fill your mixing cup with the two parts resin. Must be even amounts for part A and part B. Then mix very thoroughly. Be sure to scrape the sides to ensure entire dosage is mixed well.

Step 2: Fill the mold up approx 2/3 of the way.

Step 3: Using scissors or paper punch, cut out your shape from your chosen Luminous Layer paper.

Step 4: Gently lay your layer in to the mold on top of the resin. You will want the textured shiny side to face down. Press the paper very carefully, to be sure there air did not get trapped when paper was set in. You can try to wiggle the paper a bit if that helps.

Step 5: Once the layer is positioned correctly, fill the rest of the mold with resin, up to the brim. Set aside on an even surface and allow the resin to cure. We usually allow 12 hours, just to make sure it is entirely hardened.


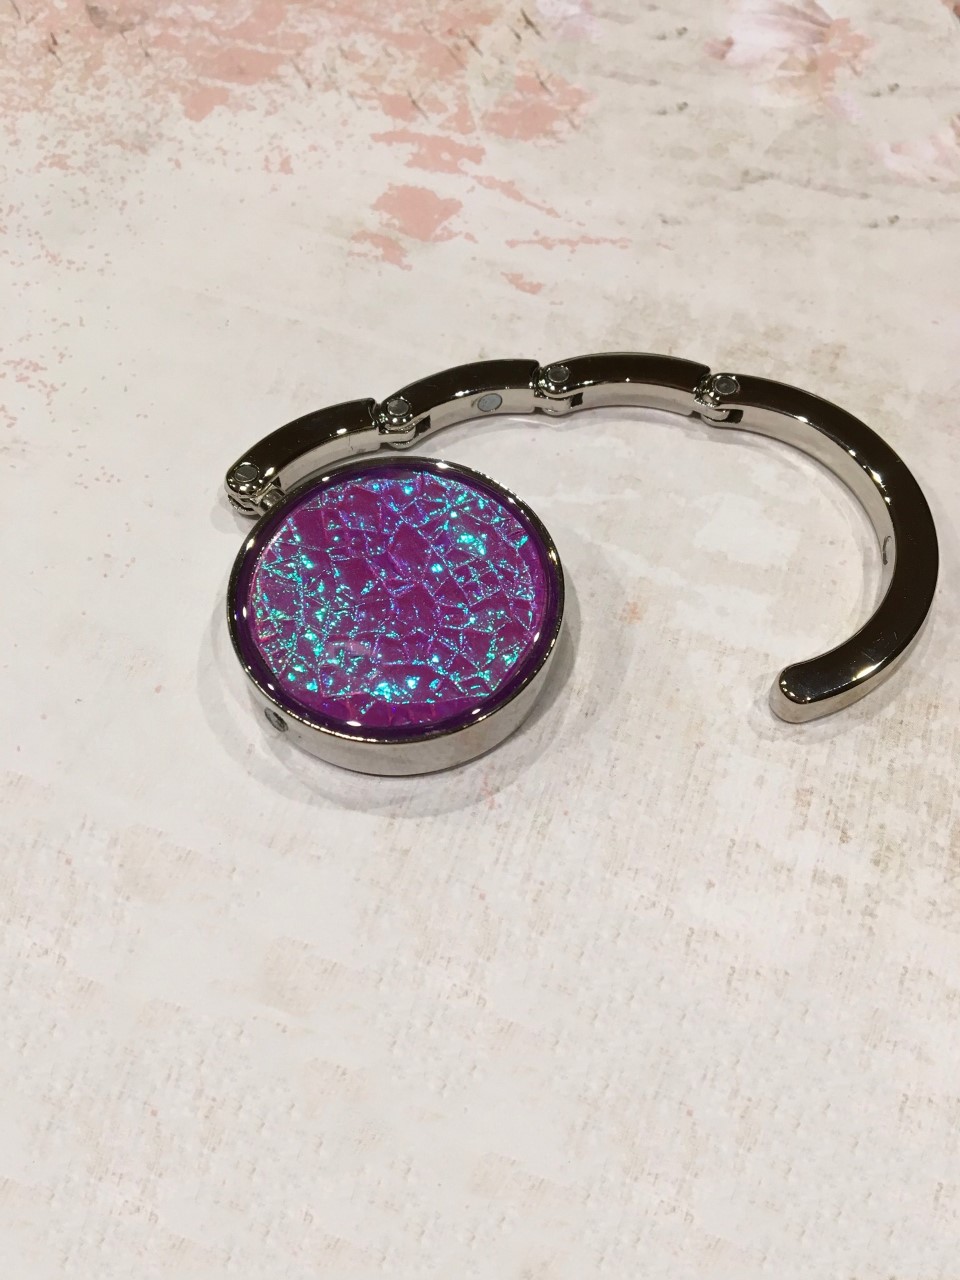
Another view of the cured piece.

Step 7: Apply a small dot of E6000 to your bail on the glue pad.


Here is a view of the back. Set aside to dry.

Step 9: Add a jump ring through the bail loop (if needed), then add the entire pendant to your necklace strand. You are finished!

The luminous layers really so eye catching! The texture they offer as well as all of the changing colors make any piece stunning!


Enjoy!
You can find materials in our shops:
Www.WillowRunCrafts.com
Www.Etsy.com/shop/WillowRunCrafts
Any questions, just let us know! Happy Crafting!
-Willow Run Crafts-
#luminouslayers #iceresin #resin #resinpendant #resinmolds #resinpaper #diyjewelry #handmade #etsyshop #E6000 #jewelryideas #craftideas #willowruncrafts #rangerink #jewelryresin #resintutorial